Home Cooking!

Even though eating out in Jerusalem has been a lot of fun (as evidenced by my several ‘Jerusalem Cafes‘ posts), there’s always something fun about cooking at home. In the past week or so, I’ve had fun turning the contents of my fridge and impulse buys at the fruit-and-vegetable stands into good dinners.

Earlier in the week I made a sweet potato, egg, and cheese melt. I started by roasting slices of sweet potato (about 25 minutes at 450º):

IMG_5326

After roasting, I removed from the oven and added two sliced chopped tomatoes, 6 eggs, and shredded mozzarella cheese:

IMG_5327IMG_5328IMG_5329

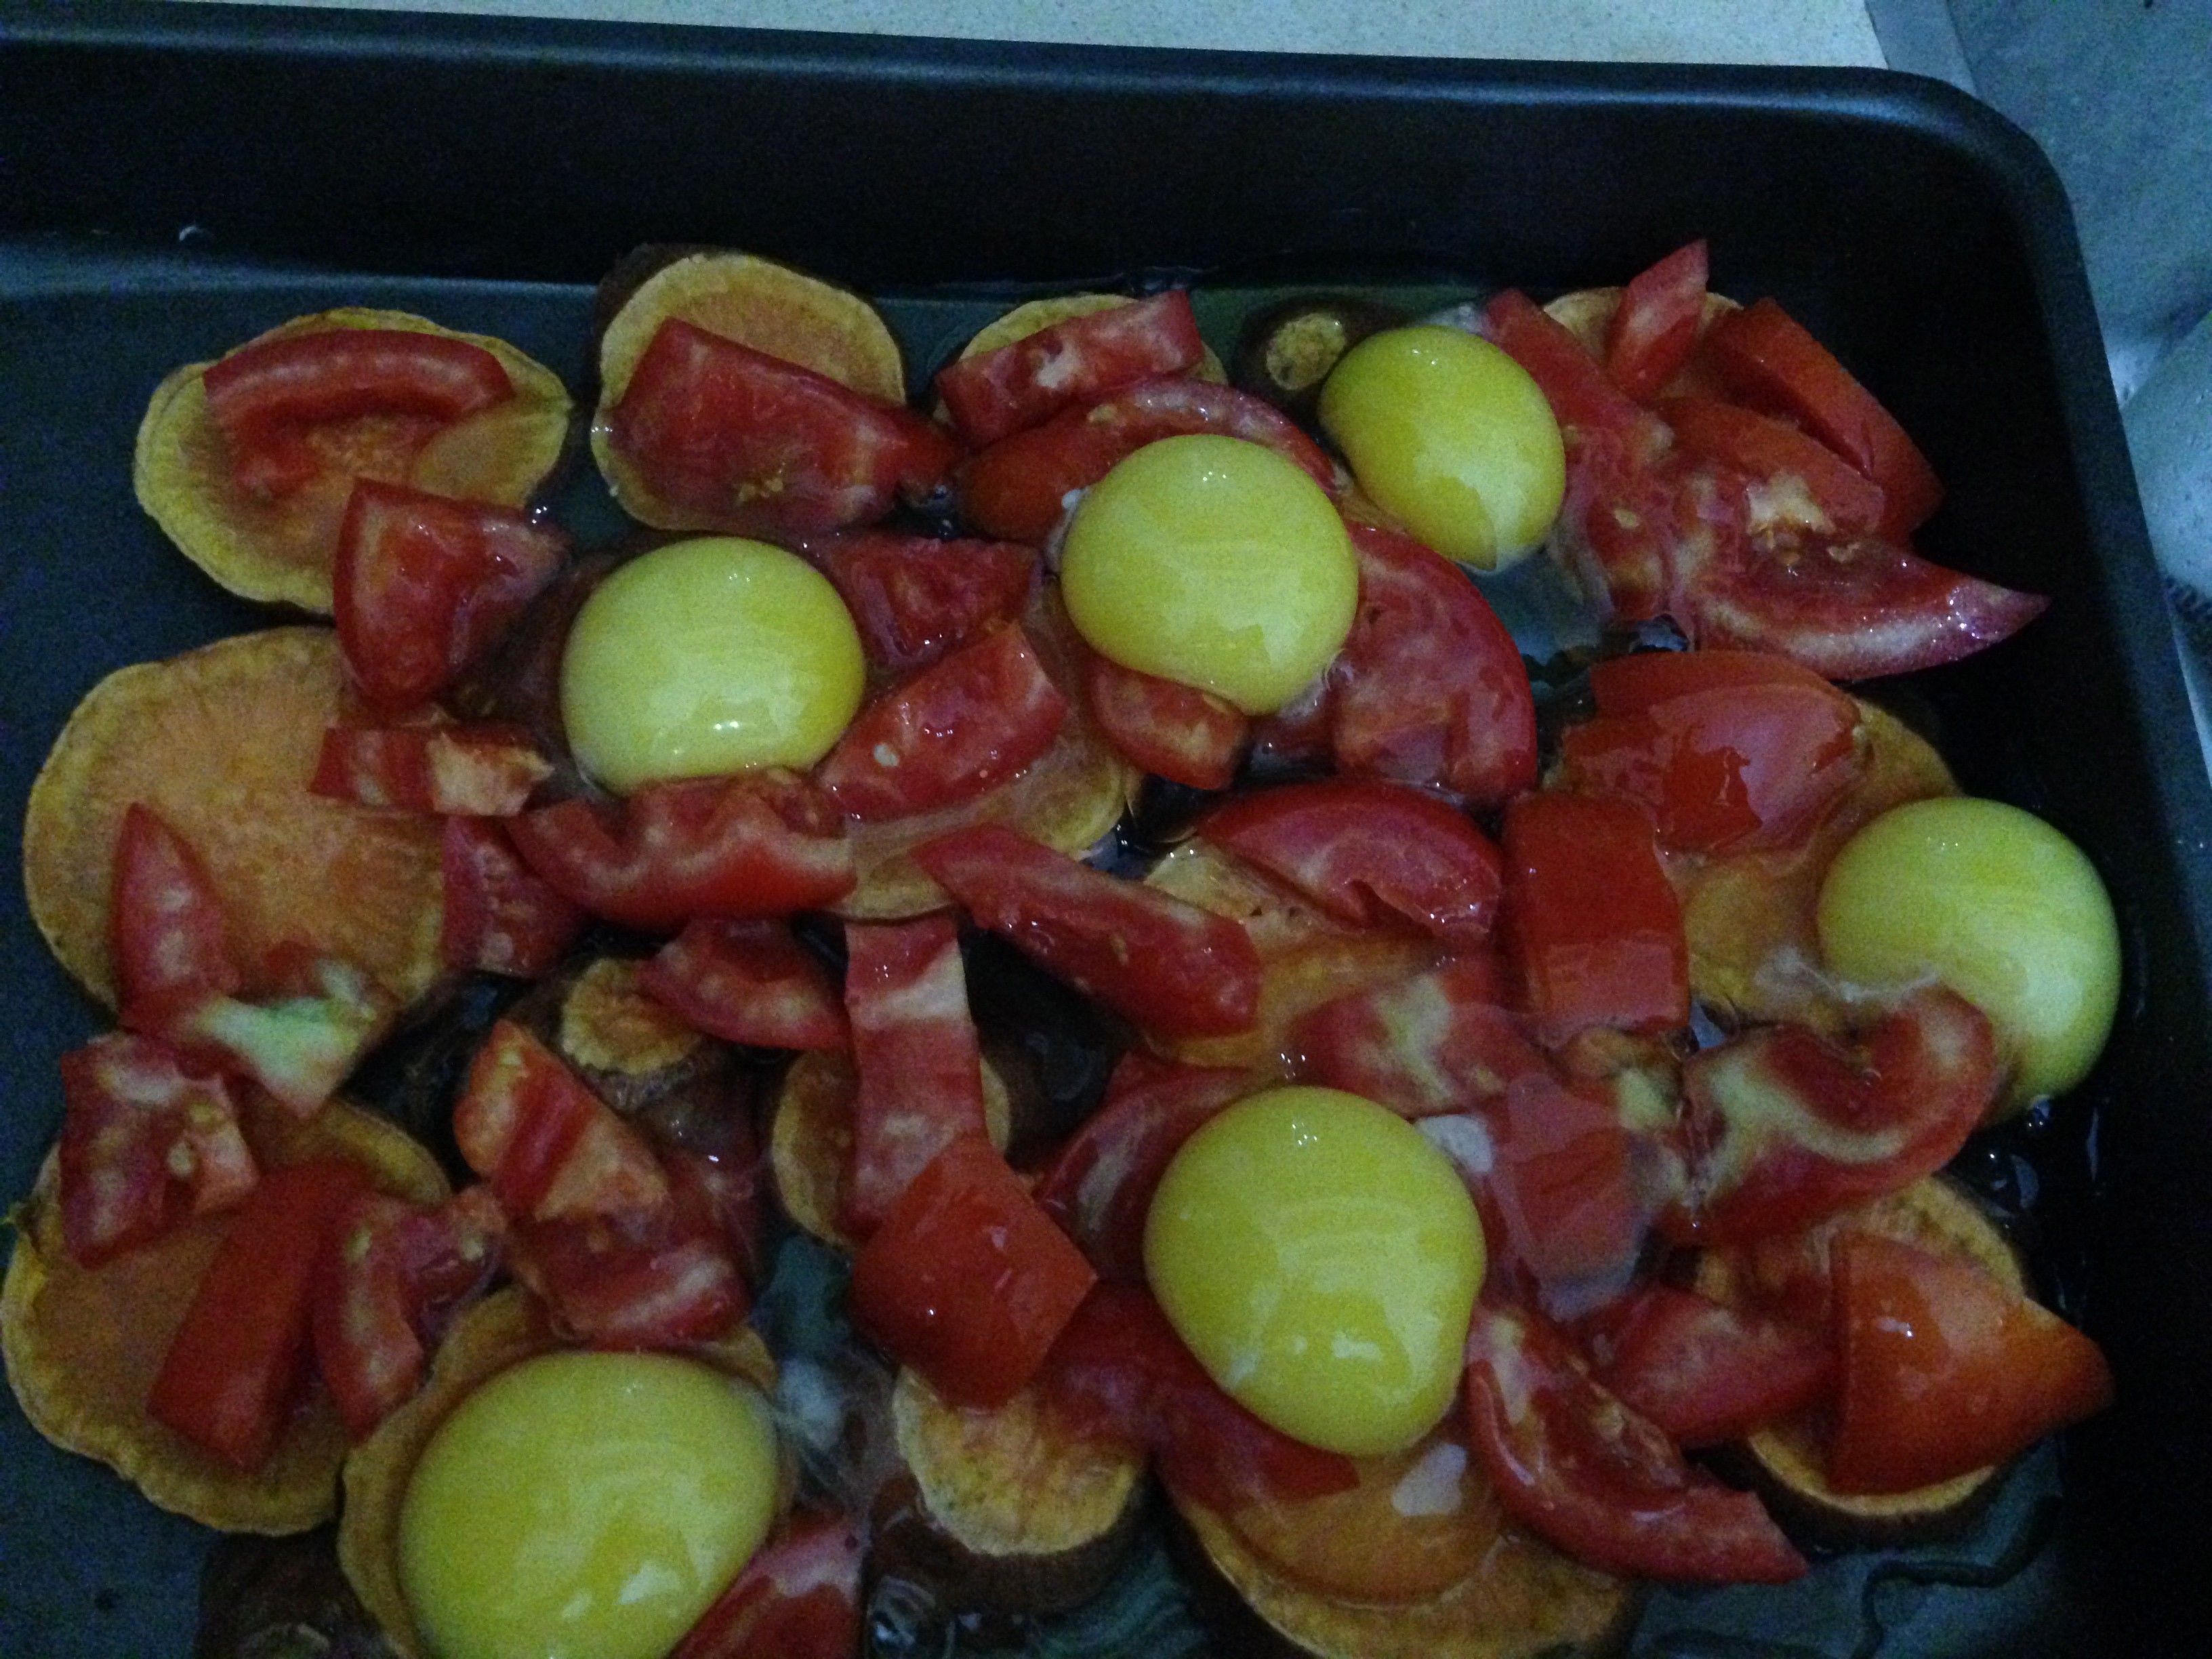
I broiled in the oven until the egg whites were completely cooked and the cheese a little browned (it took a little more than 10 minutes in my oven, but my broiler is not very good, so it would probably take a lot less with a better broiler):

IMG_5330

I served with sliced peppers and hummus (in total, this was enough for 3 servings):

IMG_5331

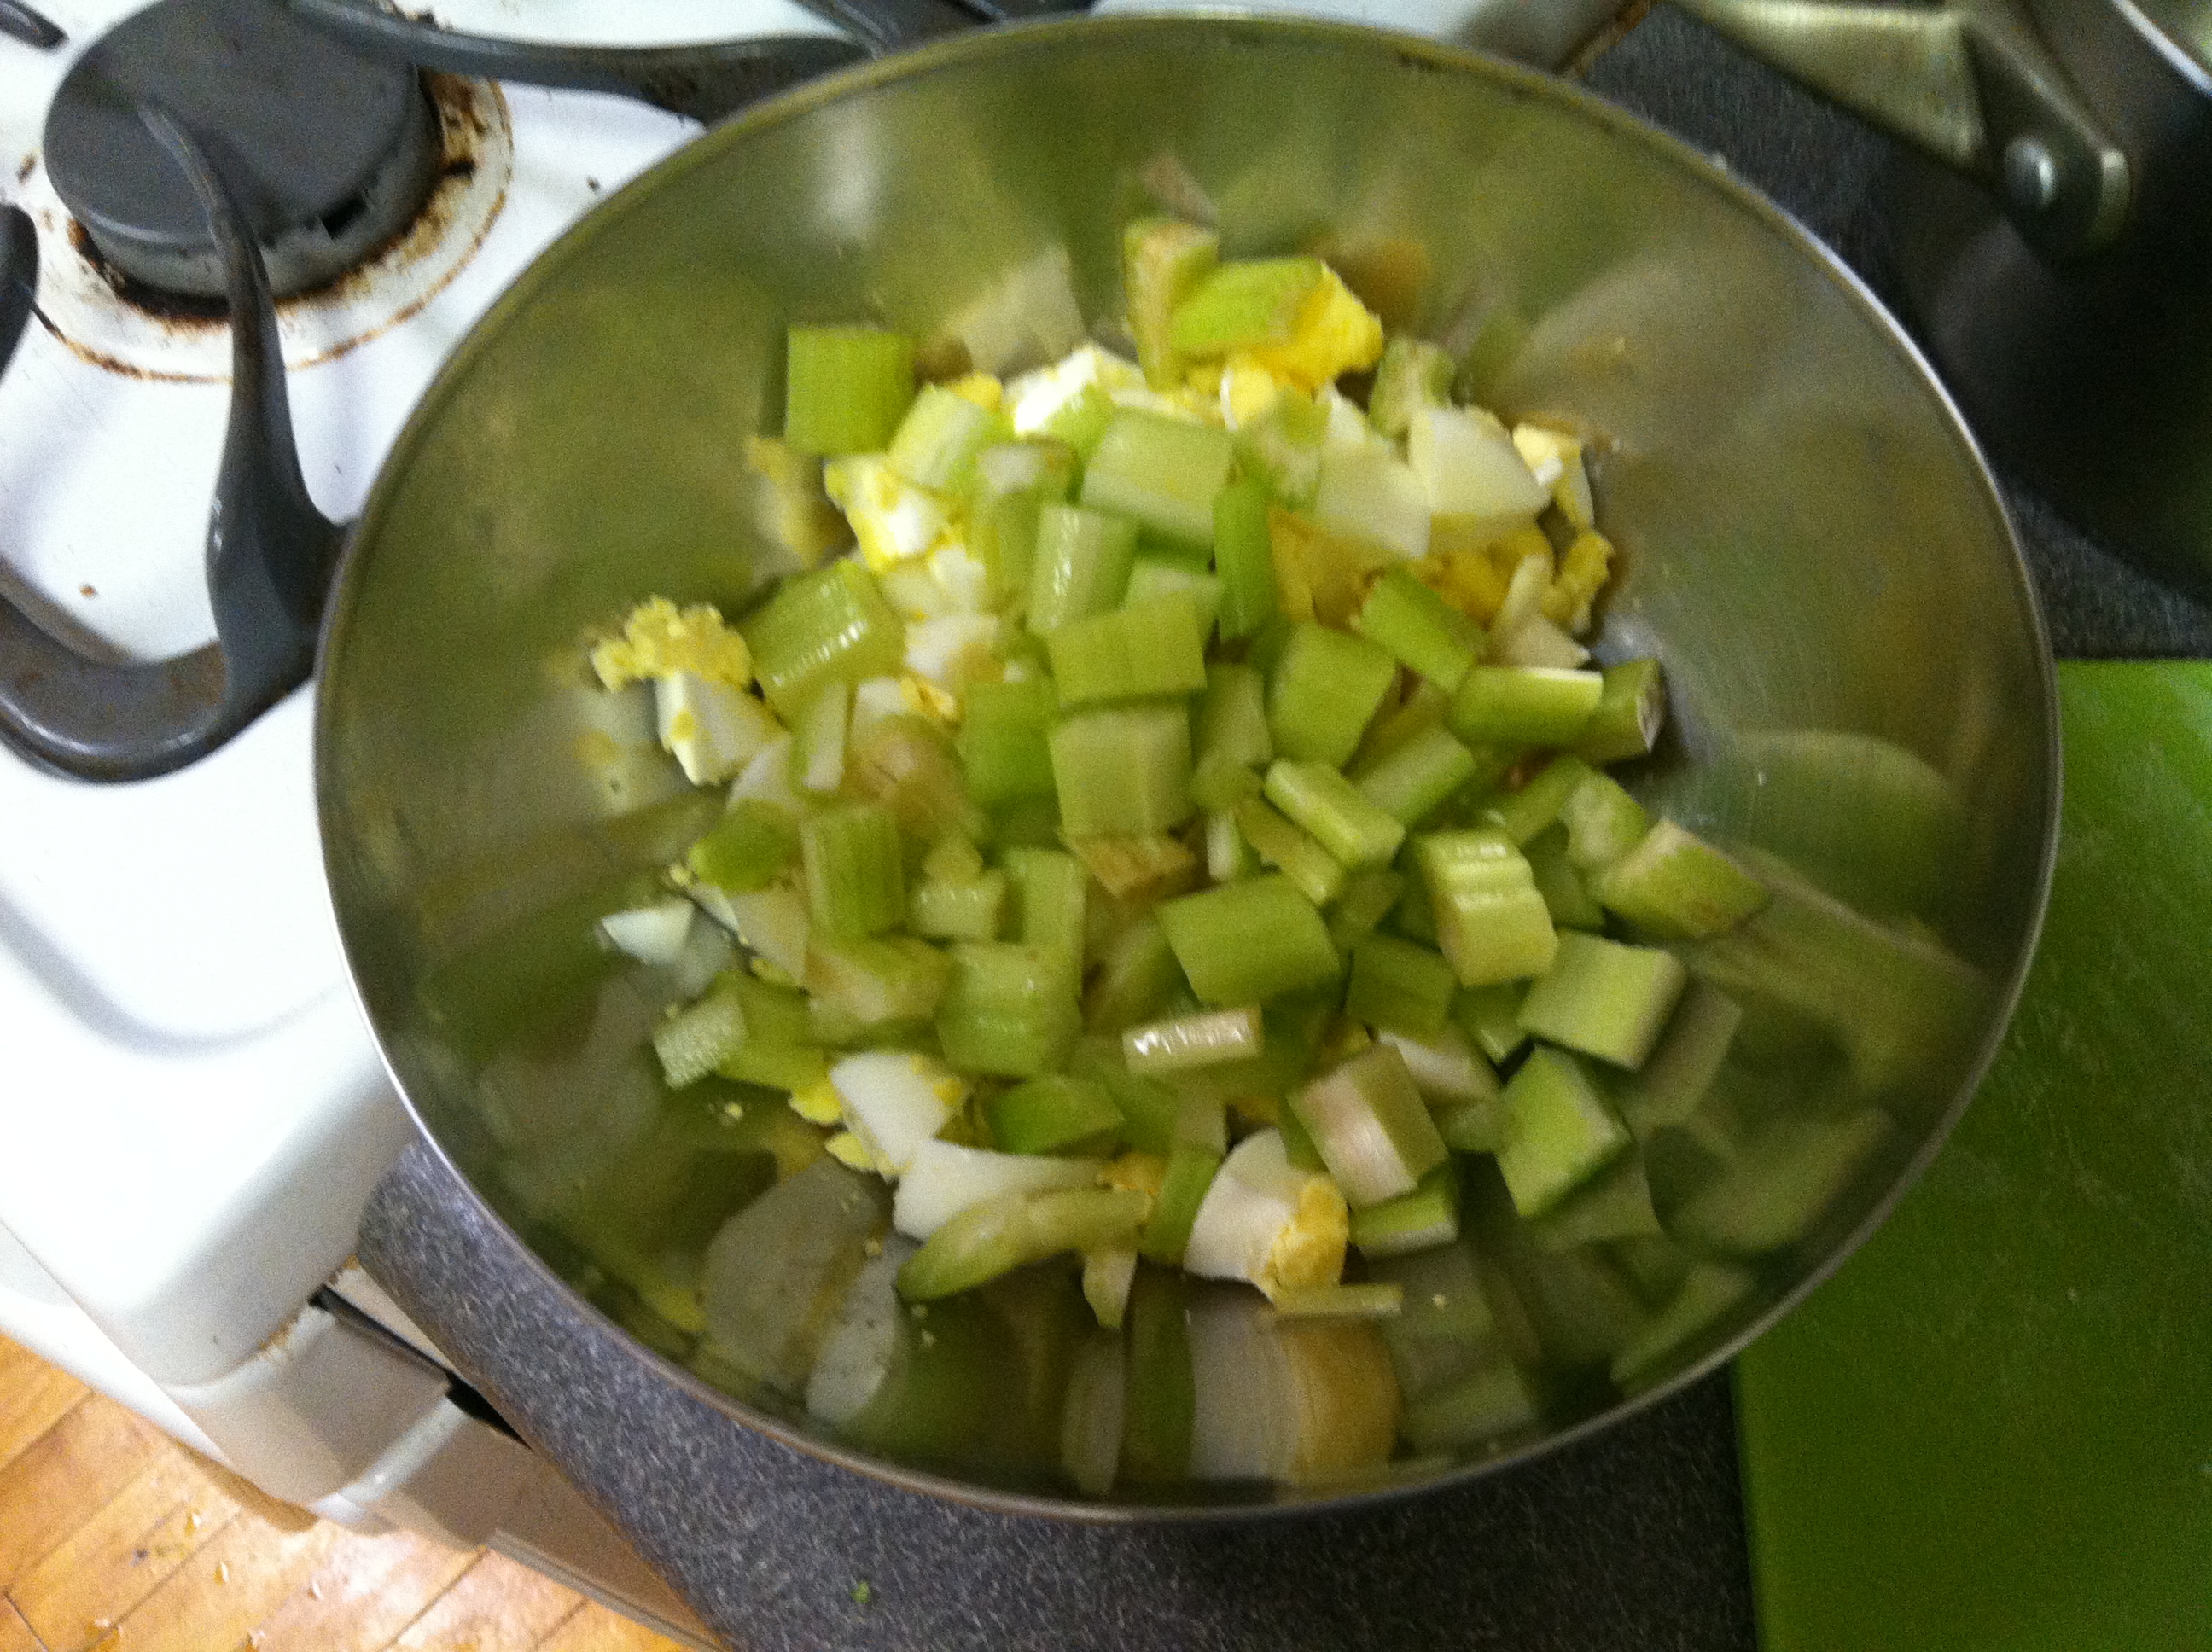
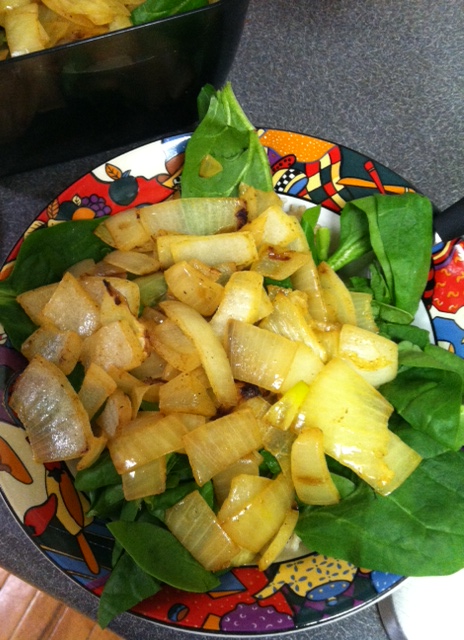
Later in the week, Noah and I made an eggplant tomato sauce to go with goat cheese-filled beet gnocchi. The sauce was extremely easy to make. I finely chopped two shallots, two cloves garlic, and put them to heat in a skillet with a little butter. After just a couple minutes, I added half an eggplant, 1 tomato, and half a can (15 oz) of tomato sauce:

photo 1 (30)

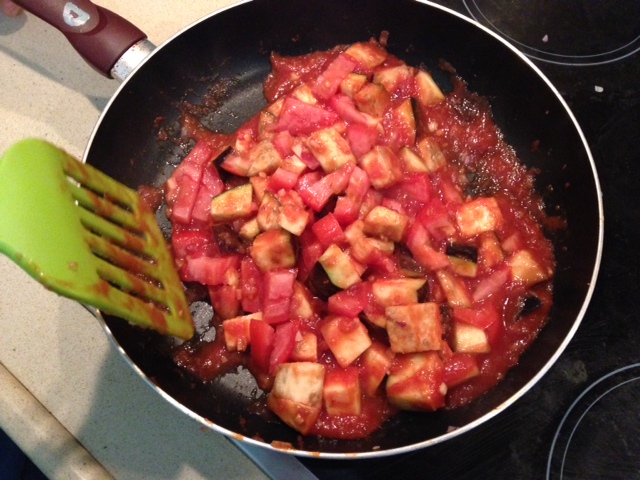
Noah was on skillet duty:

photo 2 (33)

The gnocchi was from a nearby bakery and it looked awesome! The beets gave it a purple-ish tint:

photo 4 (18)

The gnocchi only needed to cook for two minutes, so I waited until the sauce was nearly done (about 10-15 minutes) to put them up. In total, the meal came together in twenty minutes or less.

photo 3 (25) photo 5 (14)

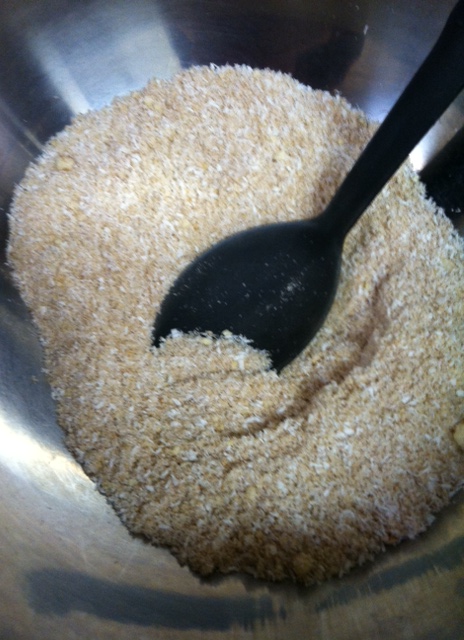
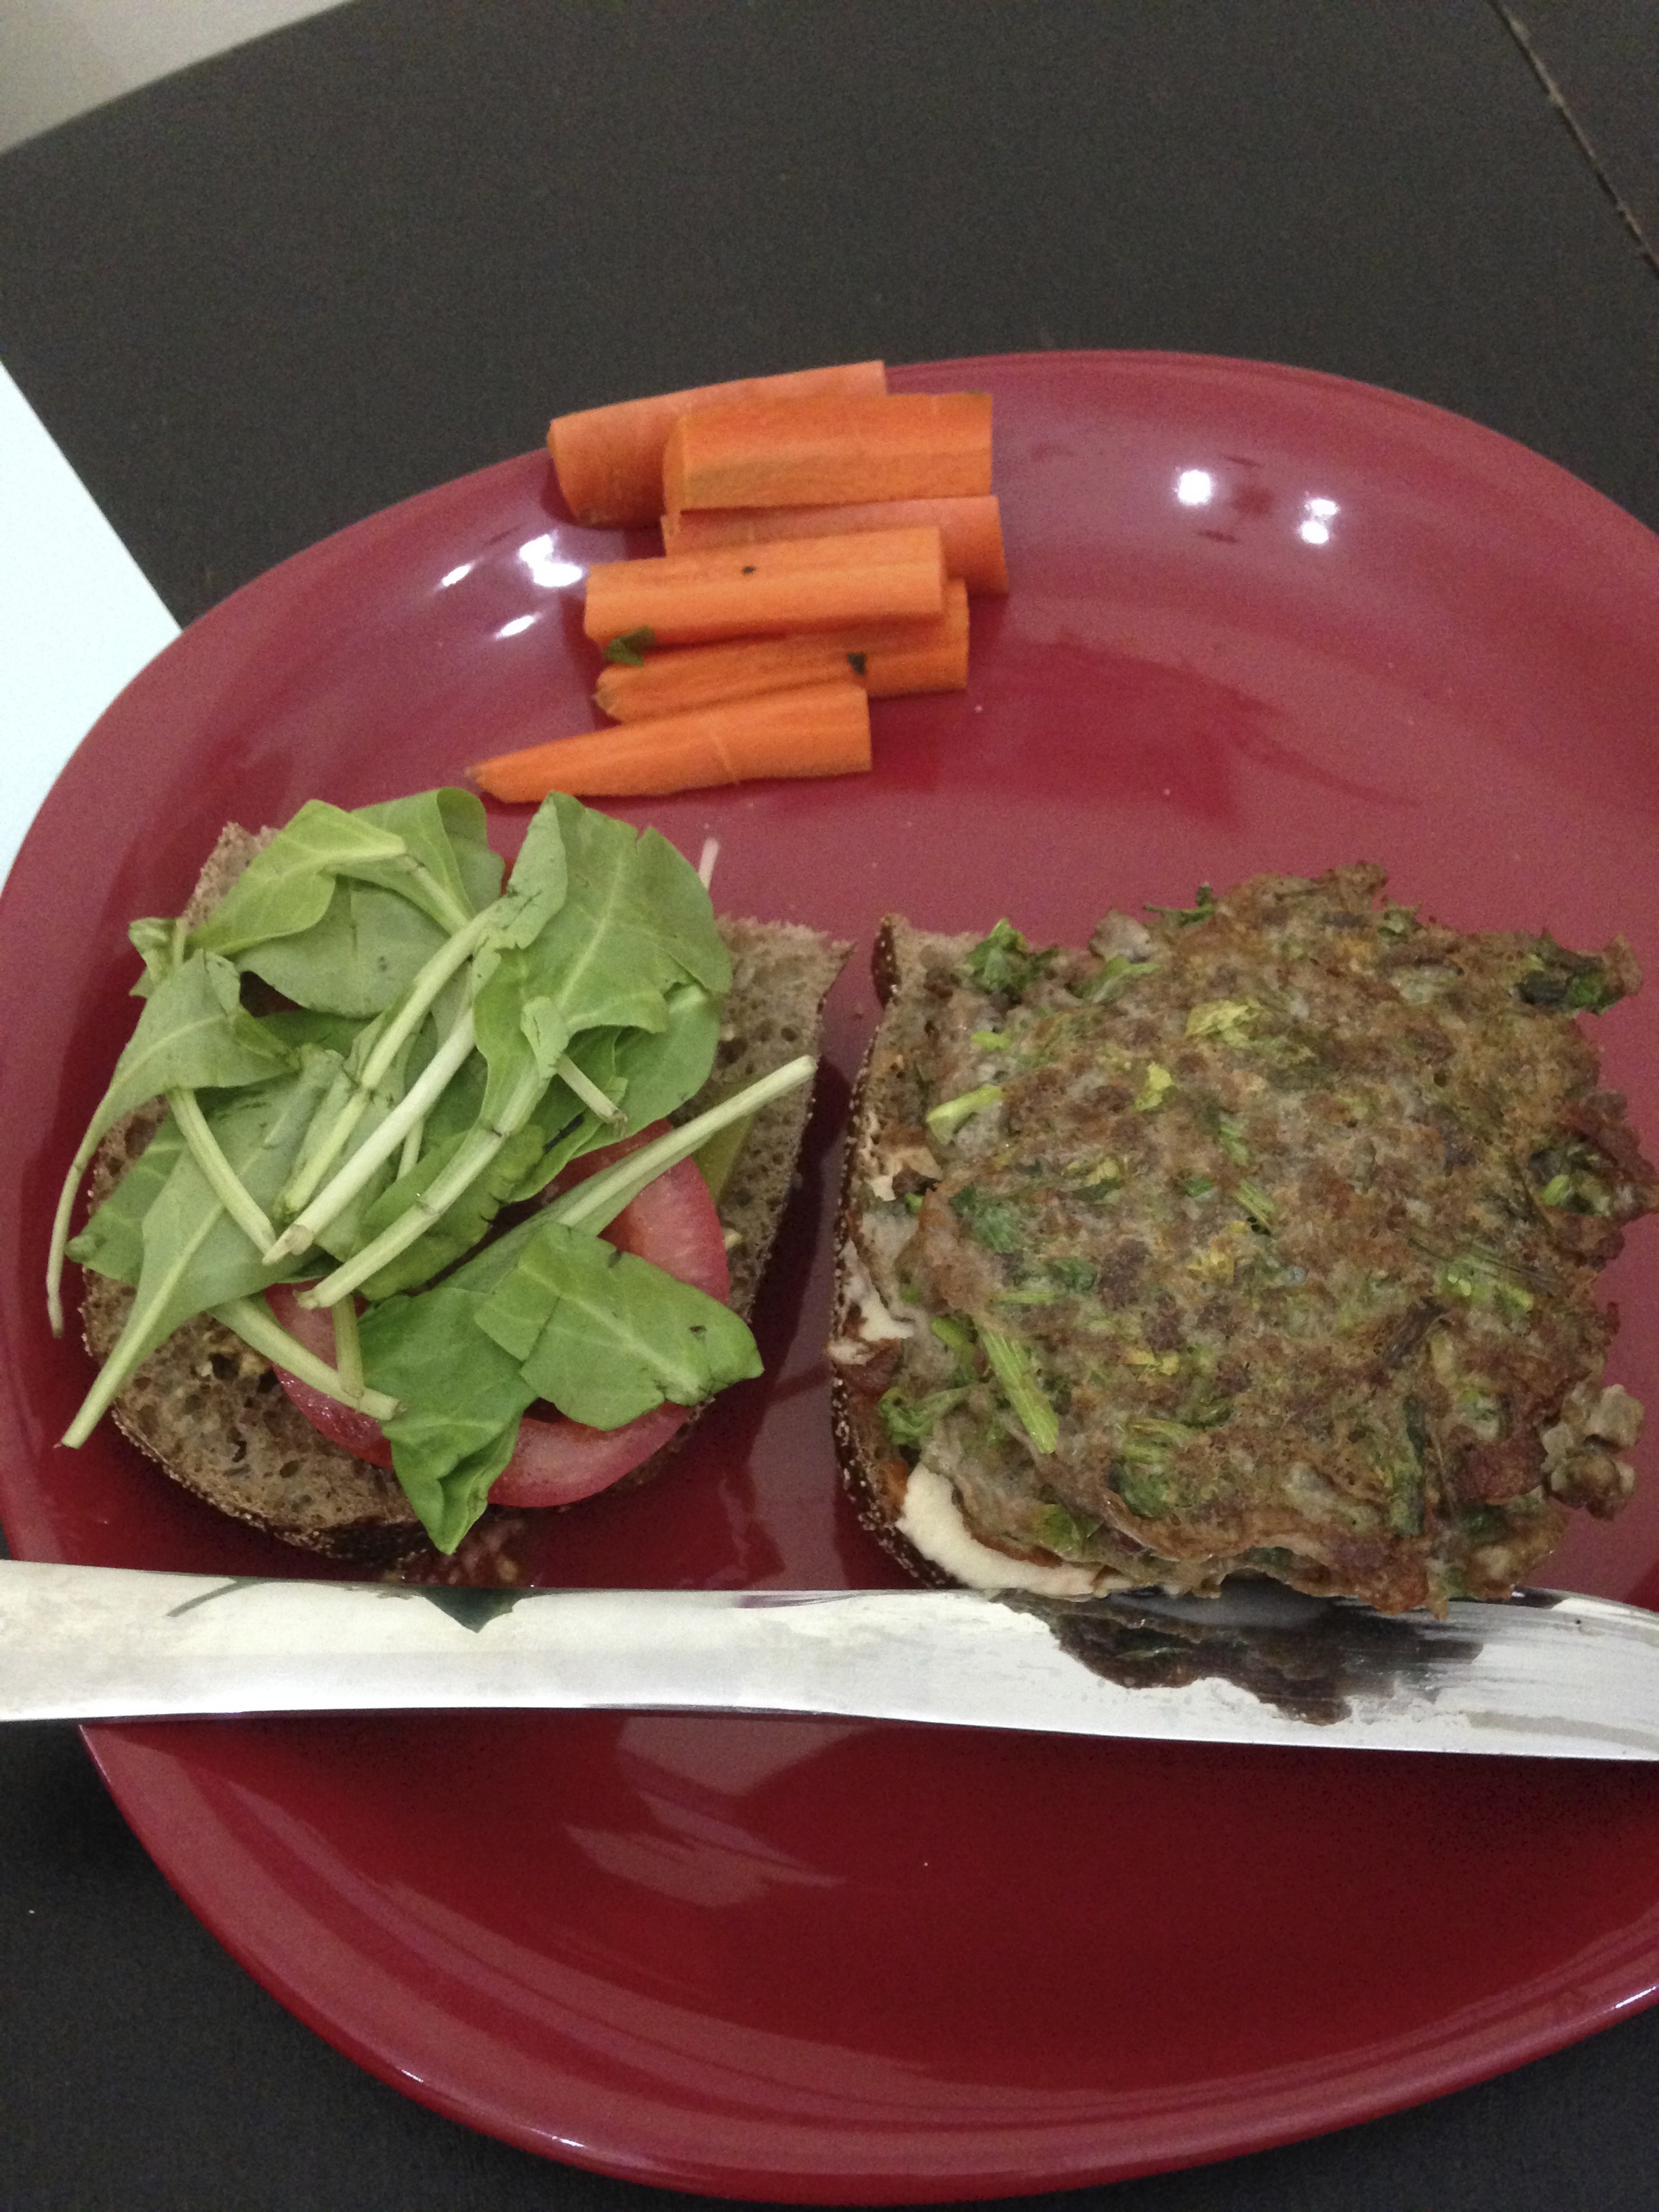
Finally, I made beef and parsley burgers for lunch. For the burger patties, I mixed about a 1/2 pound of ground beef with 1 egg, 1 T whole wheat flour, and 1/4 cup chopped parsley. I mixed everything together and cooked on a skillet for about 3 minutes on each side. We ate the burgers on whole wheat rolls with an assortment of salatim and vegetable toppings:

IMG_5124 IMG_5125

It’s amazing how the internet enables everyone to have access to an essentially unlimited collection of recipes and food ideas! Every day I add more recipes to my ‘to cook something like this’ list…so there are a lot more dishes on my mind to make in the upcoming weeks. 🙂

Dandelion Greens Egg Bake

I’ve been on an egg kick lately. But who can blame me? They’re a great source of protein, they never get old because you can completely change their form (over easy or hardboiled?), and they’re easy to always keep on hand because they don’t go bad in the fridge. Well…maybe they go bad eventually, but it must take a while. Did you know that eggs aren’t refrigerated in European grocery stores? They must really think that they don’t go bad!

Tonight I decided to make an egg bake to take for lunch with me throughout the week. When I make an egg bake, I like to focus on three components: eggs, cheese, and vegetables.

Today, I decided to go for a dandelion greens and mozzarella bake.
*full recipe below

Start with one bunch of dandelion greens, roughly chopped and sauteed until just wilted:

IMG_3339 IMG_3340

Spread the dandelion greens around the bottom of a lightly-buttered casserole dish:

IMG_3341

Add three ounces of shredded mozzarella and 5 chopped green onions:

IMG_3342 IMG_3343

Beat 10 eggs in a bowl and then pour over the vegetables and cheese:

IMG_3344

Use a fork to mix things together slightly in the pan, and then cook for 40 minutes at 350º.

IMG_3345 IMG_3347

Dandelion Greens and Mozzarella Egg Bakeserves 6
Ingredients
- one bunch dandelion greens
- 3 oz. mozzarella cheese
- 5 green onions
- 10 eggs
Method
- Roughly chop the dandelion greens and saute in olive
oil until just wilted
- spread the greens on the bottom of a lightly buttered
casserole pan
- grate the cheese and distribute on top of the greens
- chops the green onions and spread on top of the cheese
- beat the eggs in a separate bowl and then pour into pan
- use a fork to slightly mix ingredients
- bake for 40 minutes at 350º

No you’re not hardcore…

No you’re not hardcore, unless you live hardcore…so goes the classic Jack Black refrain from School of Rock.

I am not what you might call a risk-taker, but I’ve found my own way to live on the edge this summer with winter biking.

photo 1 (4)
Yes, I clearly look very tough. Last summer, I made a resolution to start using my bike as a primary means of transportation. Reasons being…

  • environmental
  • recreational
  • fun way to get exercise

When the seasons changed, as they do in Minnesota, I stopped because it was too cold rainy snowy take your pick of excuses. I noticed that I was more irritable at work and whenever driving in my car in the morning, I felt sad and a little guilty that I wasn’t biking. So, I decided to stop making excuses and do what I needed to do to be a winter biker!

Here’s what it took:

Clothes: Lack of appropriate clothing for winter biking was one of the main excuses I used to avoid it. I did not own any rain gear, nor did I own warm/waterproof boots that would be good for biking in. I decided to invest in the appropriate clothing. I bought a raincoat, rain pants, and boots. Total cost: ~$130

Tires: Riding on the snow and ice scares me. I am already a fairly cautious bike rider, and the extra instability of the snow and ice left me feeling really anxious and nervous about falling. Luckily, I live in the greatest biking city in the United States (I ❤ you, Minneapolis), so bike trails are consistently plowed and maintained throughout the winter. Still, conditions could be better. I decided to invest in some studded bike tires designed to travel well over ice and help with snow. Total cost: ~$170

photo 3 (4) photo 4 (4)
Courage: Lastly – and most importantly – I just had to do it! Even after getting the appropriate clothes and buying new tires, I was still really nervous. The first couple times, I had to convince myself I needed to actually go out and ride my bike (which wasn’t too hard since I’d already spent the money!). Each time I get to work in one piece though, I build a little more confidence and feel more ready for the next time.

Moral of the story, I may not be the biggest daredevil, but I am taking on the winter with my bike and getting a little braver every day. 🙂

In other news, I’ve continued to do some top-notch cooking from the Practical Paleo cookbook. As I shared last week, I made pumpkin pancakes which were so delicious that I wanted to try a few more recipes from the book.

At the beginning of the week, I made swirly crustless quiche. 

photo 1 (5)

The recipe was SUPER simple. All you do is combine everything in a bowl and then bake it into a delicious egg bake:

photo 2 (5) photo 3 (5) photo 4 (5)

It made a great lunch and dinner during the week:

photo 5 (5)
Trying my hand at a more ambition project, I also gave stuffed cabbage a whirl:

photo 2 (6)
This recipe was a lot more time consuming and involved steaming the cabbage, stuffing them with meat/veggie mixture, covering it with tomato/cranberry sauce (cranberry sauce also had to be made), and then cooking in the oven:

photo 1 (6) photo 3 (6)
This was a fun project, so I didn’t mind the extra time required by the recipe. The end result was very good, but I got a little sick of it by the time I had it for the fifth (or sixth!) meal. I need to remember to always downsize recipes a lot.

stuffed cabbage served with roasted sweet potatoes

stuffed cabbage served with roasted sweet potatoes

Pickle Egg Salad

I’ve been on a kick lately of eating foods I don’t normally eat.

Example 1: coffee

Example 2: red meat

Example 3….pickles! I used to hate the taste of pickles, but I had them on a sandwich a few weeks ago and thought, ‘hey, I might actually like these little guys.’ Since then, I decided to buy a jar of sliced pickles at the store and try incorporating them into my meals. This turned out to be a little trickier than I originally thought since – really – what goes with pickles?

Um…sandwiches? burgers? EGG SALAD!

Here’s what you do:

First, make some hard boiled eggs.

IMG_2205

My method is to bring a pot of water to a boil, add the eggs, and cook covered for 10 minutes. Drain immediately, soak in cold water, and then peel. Also, there are 8 eggs pictured, but I only used 4 for this recipe.

While the eggs boil, chop 3 stalks of celery and add to medium mixing bowl:

IMG_2206

Chop 10 pickles slices (you could adjust this according to your affinity for pickles):

IMG_2207

Add the pickles plus 1 teaspoon of mustard (I used deli mustard, but honey mustard would work well too):

IMG_2208 IMG_2209

Add a couple spoonfuls of full-fat plain yogurt, 4 hard-boiled eggs, and mix to combine:

IMG_2210 IMG_2211

Add more yogurt if you prefer a more goopey egg salad. According to spell check, goopey is not a word, but I know better. 🙂

Yum! Super easy and delicious egg salad!

Pickle Egg Salad
Ingredients
- 4 hard-boiled eggs
- 3 stalks celery
- 10 pickle slices
- 1 tsp mustard
- approx. 1/4 cup of plain full-fat yogurt
Method
Chop celery, eggs, and pickle slices. Combine with mustard and yogurt.
Stir to combine.
Enjoy on salad, bread, or any other way you fancy.

Experimenting with Breakfast

Although I find many intriguing recipes on the blogosphere, I am probably most frequently interested by breakfast recipes. I never realized how many different ways there were to use oats or protein powder or eggs or bananas or…you get the idea. If you’re not someone who gets excited about the prospects of breakfast (somehow, I never seem to struggle with that myself), my best advice to you is to start blog hopping. I guarantee you’ll be looking forward to tomorrow morning before long. 🙂

This week, I tried two breakfast recipes I’ve had my eye on for a while. The first was a version of oatmeal minus the oats, most frequently admired on Tina’s blog, Carrots N Cake. Tina’s version was adapted by Girl Meets Whisk to create this recipe, and – finally – I changed that version to make my own.

I used the following:- 1/2 cup almond milk
– 3/4 cup egg sub
– 1 banana, smooshed
– 1 teaspoon cinnamon
– 1 teaspoon nutmeg
– 1/2 teaspoon vanilla extract
– 2 tablespoons ground flax

I whisked everything together for approximately 5 minutes over medium heat until the mix thickened. I served topped with a large quantity of honey peanut butter:

photo 1(118)

This was tasty, but it didn’t keep me full quite as long as I was hoping.

The other breakfast recipe I finally tried this week was breakfast cookie cereal from The Fitnessista.

I combined 1/2 cup of oats with slightly less than one scoop of chocolate Tera’s Whey protein powder:

photo 5(92)

I added a few shakes of cinnamon, a touch of vanilla, and stirred to combine:

photo 1(117)

Add approx. 1 tablespoon peanut butter and stir:

photo 2(114)

According to Gina’s recipe, the mixture is supposed to become cookie-dough like after stirring in the peanut butter. I think my peanut butter to oats ratio must have been really off, because I was a long shot from anything like cookie dough. I added a banana though and mashed that up into the mixture, and that held things together a lot better:

photo 3(113) photo 4(102)

I topped with a generous amount of almond milk:

photo 5(91)

This tasted good while I was eating it but, again, didn’t seem to keep me full that long. I’ve been struggling to find a breakfast that really keeps me satisfied until lunch.

Does anyone have suggestions for tasty and filling breakfasts?

Eggs for Breakfast and Art

I’ve been eating more eggs for breakfast these days. I used to be a big bowl of cereal all the girl, but as part of my efforts to get in more protein I’ve been making a transition to eggs. I definitely still have a lot of yogurt/cereal/fruit/nut butter mornings, but eggs are in the steady rotation. I can’t really tell which kind of breakfast fills me up more, but I will continue my detective work and let you know if I have any breakthroughs. This morning’s breakfast followed a 4 mile run, and I was craving something warm, flavorful, and filling.

I cooked up two eggs with some of the leftover roasted garlic and tomatoes from this soup:

photo 1(88)

Once the eggs were nearly cooked, I added in about a tablespoon of pesto. I plated the eggs with one slice of wheat toast and a sliced banana:

photo 2(86)

yum – look how good this is:

photo 3(86)

After this delicious breakfast I had a very busy day, not returning home until after art class. Instead of taking a watercolor class like I normally do, I’m trying drawing this session. I enjoyed the drawing class today, but I definitely think I’ll go back to watercolor for the next session – it feels more fun and free to me. During art class today we worked on an artichoke. Here is the original picture we had:

photo 4(76)

We were primarily supposed to focus on replicating the shading and layers. Here is my version:

photo 5(69)

Side by side:

photo 1(89)

Overall, I think the exercise went okay, but I definitely felt like I couldn’t get quite enough texture into the leaves. I was using a pencil from the B series (softer lead), so the tip didn’t stay as sharp. Perhaps a harder pencil would have given a little more texture.

Almond Coconut Cookies

Although it’s been a rocky road with injury, it looks like I will be running a half marathon in exactly 10 days. This morning I did my last long(ish) run.

photo 2(73)

11 miles in 1:47 – an average of 9:45 pace. I’d like to be faster, but I know that I’ve taken a lot of time off and have hardly trained, so I’m not too disappointed. We’ll see how the race goes! For my runs of over an hour, I’ve been using this bad boy:

photo 4(63)

All of my clothing seems to turn into horrible chafing weapons, but this body glide has really helped a lot. I just need to remember to put it EVERYWHERE. For example, my ankle got chafed on my last run:

photo 5(57)

My ankle?!?! I need to wear longer socks I guess. After my run I was super hungry for breakfast, so I put together some egg beaters with mushrooms and spinach, two slices of wheat bread with hummus, and a few strawberries:

photo 3(72)

A very satisfying and filling post-run meal!

And now…what you’ve all been waiting for…COOKIES! As I mentioned yesterday, I bought some almond flour at the store last week and am trying to find good ways to use it up. Obviously, one pathway was to make cookies. I found a recipe for grain-free kitchen sink cookies at Fast Paleo and decided to give it a try. I modified their version slightly, here’s my take on it:

Combine 1 cup unsweetened shredded coconut with 2/3 cup almond flour with 1/2 teaspoon cinnamon:

photo 1(79) photo 2(78) photo 3(78)

Mix it all together:

photo 5(62)

Meanwhile, combine 1/2 cup maple syrup, 3 tablespoons walnut butter, 1.5 teaspoons vanilla, and 2 tablespoons coconut oil:

photo 4(68) photo(230)

Mix the wet ingredients into the dry and stir to combine. Then, add the chocolate chips:

photo 2(77)

Form into small balls on a cookie sheet:

photo 3(77)

And cook at 350° for 13 minutes:

photo 5(61)

Enjoy with a nice glass of milk:

photo 1(80)

🙂

Keys Cafe Bakery

If you are ever in downtown Minneapolis for breakfast/brunch, there are really only two options as far as I’m concerned: Hell’s Kitchen and Keys Cafe Bakery at the Foshay. Keys, like Hell’s, serves breakfast lunch and dinner but, also like Hell’s, really shines with their breakfast menu.

photo 3(66)

Keys has more standard fare than Hill’s, but there are still a few unique items on the menu (blueberry bran pancakes anyone?). The regular items – omelettes, scrambles, pancakes, eggs benedict, etc. – are all served freshly and deliciously with large servings and they taste just. plain. good.

When you walk in the door, you are greeted by a display case of oversize and delicious looking desserts, a la Cafe Latte.

photo 1(70)

cookies!

Deciding what to get for breakfast was tough since so many things looked good, but we had an eclectic sampling at our table. First off, fresh squeezed orange juice and coffee:

photo 4(57) photo 5(52)

I ordered a fruit plate that came with cottage cheese, homemade wheat toast, and homemade strawberry jam:

photo 2(68)

Other family members got a buckwheat pancake with granola (the granola was cooked into the pancake):

photo 4(58)

Cinnamon bread french toast:

photo 3(67)

And huevos rancheros which came with eggs, refried beans, salsa, American fries (small diced breakfast potatoes), and two enormous flour tortillas:

photo 5(53)

Holy yum! Everything was great. While there, I also perused their lunch and dinner menu and thought those looked appealing as well. Plus, if I were there for lunch or dinner maybe I could get one of the desserts. 🙂

Curried Onions and Eggs

I have been really into eggs lately. Specifically, soft-boiled eggs. They are a great protein source for lunch or dinner, they are SUPER easy to make, and they are incredibly versatile. Since eggs last a long time in the fridge, they are especially convenient for keeping around to use when there’s not a lot of other food in the house. Last week, I was preparing to leave town for 8 days (more on that to come), so I didn’t want to buy any meat or other protein that would go bad if I didn’t finish it. So, eggs were the obvious choice. 🙂 Here is how to make the perfect soft boiled egg:

Bring water in a saucepan to boil. You will need enough water to fully cover whatever number of eggs you want to cook:

photo 2 (2)

Once water is boiling, add in the eggs. You will want to use a spoon to place the eggs into the water. If you just drop them, there is a chance they will crack by hitting the bottom of the pot:

photo 3 (2)

Cover the eggs and simmer for 5 minutes (timing is important, so set a timer). Once the eggs are soft-cooked, drain the hot water from the pot immediately and refill with cold water. Let the eggs sit in the cold water for a few minutes:

photo 3 (1)

Once the eggs are cool, peel and eat or store in the fridge. These particular soft-boiled eggs were made to be served with…brown rice, curried onions, and spinach!

photo 2 (1)

The curried onions were also an “I don’t have a lot of food in the house and don’t want to buy more” concoction, and they turned out great. All you need is one yellow onion, a little butter, and some curry powder. Heat the butter (I used a couple teaspoons) in a skillet:

photo 4 (2)

Once the butter is melted, add in a few shakes of curry powder, adjusted to your spice preference:

photo 5 (2)

Add in the chopped onion:

photo 1(42)

Cook until translucent and beginning to brown, stirring frequently (it took about 10 minutes for me):

photo 2(41)

Put everything together…

step 1

step 1

step 2

step 2

step 3

step 3

Delish! Also, as a side note, the brown rice I used here was the quick cook kind. But, instead of using regular water to cook the rice, I used coconut water with a tiny bit of coconut cream. This gave a really nice flavor and a touch of creaminess that I enjoyed. I would recommend it as a pairing with curry and other similarly spiced foods.


Thinking of Breakfast

This morning, I went to the gym for some Stage 3, NROLFW. I had originally planned to run a couple miles while there as well, but going home to eat breakfast was a little too appealing. For breakfast, I had some greek yogurt, an apple, and the last piece of couscous breakfast bake topped with cashew butter.

photo(143)

very satisfying

I also brought to work a lunch I prepared the night before. Ingredients: red bell pepper, two eggs, cheese, avocado, and a tortilla.

I cooked the pepper for a couple minutes in a skillet:

photo(147)

Added the eggs and cheese:

photo(145)

Packed into a tupperware and topped with half an avocado:

photo(144)

In the morning, I just grabbed the tupperware straight from the fridge without preparing anything!